

Table of Contents
Users in 2025 live within apps rather than merely using them. The quality of user interface (UI) and user experience (UX) design determines how easily we engage with the digital world, from shopping and socializing to managing finances and health. The demand for user-friendly and entertaining design is greater than ever as new technologies like voice interfaces, AI, and augmented reality become more commonplace.
Knowing the fundamentals of UI/UX is now required for anybody working in the field, be it a product manager, developer, or aspiring designer.
What Is UI/UX Design?
The term “user interface” (UI) describes the visual components that users interact with, such as buttons, displays, icons, fonts, and color schemes.
person experience, or UX, refers to how a person feels about a digital product overall, including how easy, effective, or fulfilling the encounter is.
Great UX wins people over, but great UI draws them in.
Why Is UI/UX Design So Important Today?
1: Who was the first woman President of India?
1. Experience Determines User Retention
The user has less than ten seconds to be impressed. Low engagement, high bounce rates, and frustration are the results of poor design. Users are more likely to stay and even return when the UX is good.
2. Rather than being a feature, accessibility is a standard.
Usability is enhanced for all users when inclusive design features are incorporated, such as voice navigation, contrast settings, or large tap targets. Prioritizing accessible design helps brands connect with more people and gain their trust.
3. AI Requires Human Design
Even though AI technologies are getting stronger, their usefulness still depends on careful design. Even if a chatbot is intelligent, users will abandon it before they can fully utilize its potential if its interface is confusing or cluttered.
4. Design Influences Brand Perception
First impressions are mostly digital. A sleek, intuitive interface can build instant credibility, whereas a clunky experience can harm your brand even if the underlying product is strong.
Free UPSKILLING Courses!
Take your first step toward mastering in-demand skills, acing interviews, and securing top-tier jobs with Entri's free upskilling courses.
Start Learning!What To Include In A UX Portfolio Website
Any portfolio should contain these two essential elements:
- An “About Me” section or page, where you tell your own tale and showcase your special abilities, character, and viewpoints.
- Design case studies provide a thorough account of your design work, including the challenge you set out to address, the steps you took, and the final designs you produced from wireframe to aesthetically pleasing user interface.
Along with these two essential elements, many UX design portfolios furthermore comprise:
- A page for contacts
- Links to your internet design-related profiles, such as LinkedIn
- A current, broadened version of your resume
Tips To Uplevel Your UX Portfolio
You should sit down and go through all of your projects to choose which ones to include in your UX portfolio, whether they are paid or your own practice projects. Pose the following queries:
- Which steps in the UX design process are my favorites?
- What distinguishes me from other designers of user interfaces?
- What kinds of tasks do I seem most adept at?
- Which projects gave me the greatest knowledge?
- Which initiatives benefited the most from my contributions?
- Do any of these pieces have compelling backstories?
10 Steps to Create a UX/UI Case Study
Step 1. Introduction
Setting the scene for your case study, your introduction gives readers a comprehensive grasp of the project’s history and your role in it. Here’s how to write an engaging opening:
Describe the project.
- Summary: Give a succinct overview of the project first. What’s it about? Is it a new feature, a redesigned website, or a mobile app?
- Your part: Clearly state your contribution to the project. Were you a team member, the lead designer, or did you specialize in anything like visual design or user research? Make sure to thank your teammates for their contributions if you worked with them.
- The situation: Give the project some background. For what reason was it started? Which user needs or corporate objectives motivated the project?
Set the context
- Background of the project: Briefly describe the project’s history. Mention any pertinent information, including the problem that needed to be solved, the industry, and the target audience.
- What you will discuss: Describe the topics your case study will cover. This provides readers with an outline of what to anticipate.
Step 2. Define the objectives
Establishing the project’s goals is essential to determining the course and extent of your labor. In this step, you must clearly define your goals and your strategy for achieving them.
- Define your goals: Clearly state the objectives you have in mind for the project. This makes it easier for readers to comprehend your goals and success criteria. For instance, the primary goal can be to reduce the total time required to finish a purchase by 30% and raise user satisfaction ratings about the checkout procedure.
- Describe the success metrics. Talk about the metrics or key performance indicators (KPIs) you plan to utilize to gauge the project’s success. This gives your goals a numerical component. In the realm of the checkout scenario, the metrics could be checkout completion rate, user satisfaction scores from post-purchase surveys, and the average time to complete a transaction.
Step 3. Research goals and methods
An essential part of any UX/UI project is research. It offers the framework for comprehending customer requirements, locating problems, and guiding design choices. This process entails establishing precise study objectives, applying suitable techniques, and exchanging insightful information.
- Recognize user needs: Specify the information you hope to gather about your users, such as their habits, inclinations, driving forces, and problems.
- Determine the areas of pain: Indicate the issues you need to find, paying particular attention to places where users have difficulties or complain.
- Get input: Explain how you plan to get user input on current or suggested designs.
- Describe the research techniques: Make use of techniques including surveys, competition analysis, analytics reviews, and one-on-one interviews. Describe how these techniques will assist you in reaching your objectives.
- Describe your findings in detail: Provide a concise summary of the key findings from your investigation, which should guide your design choices.
Step 4. Define the problem
Clearly defining the problem is essential since some designs may be excellent on the surface yet address imaginary problems or ignore more significant ones.
- Indicate the problem clearly: Give readers a clear description of the situation to make sure they grasp it. A clear problem statement should be quantifiable and precise, like “users struggle to find their account settings,” rather than general like “the app is confusing.”
- Give background information: Provide specific details regarding the issue that was discovered throughout the research. Give specifics on the problem’s circumstances, the user segments that are impacted, and any pertinent information.
Step 5. Define the audience
Identifying your target market is crucial to developing a product that successfully satisfies customer needs.
- Determine the target audience: Know exactly who will use the app or product and who is now using it. Ascertain the needs, habits, and demographics of your main users.
- Make personas: Create thorough characters to reflect your intended audience. To help you make design decisions, these should contain details like age, occupation, goals, problems, and preferences.
Step 6. Brainstorming
When it comes to creativity and teamwork, brainstorming is an essential stage. It involves coming up with a lot of concepts and selecting the best working ones.
- Make use of ideation methods: If you and your team employed any ideation tools, such as affinity diagrams, mind mapping, brainwriting, SCAMPER, Crazy 8s, and sketching, describe them. Describe how these methods aided in the investigation of many facets of the issue and the development of original solutions.
- Create and exchange ideas: Give an overview of the preliminary concepts that arose during brainstorming sessions. This can include notes from whiteboard sessions, mental maps, or crude sketches. Emphasize the range of perspectives and the teamwork.
Step 8. Provide your solution
In this phase, you present the finished solution to the issue you have been working on. This is your chance to showcase your design work and describe how it successfully addresses the problems that were found.
- Showcase your designs or interactive prototypes and show off how users can engage with them. To demonstrate important interactions and transitions, you can even film movies.
- Color scheme: Explain how you believe the chosen color scheme enhances the overall style and identity of the brand. Give samples of color application in the UI as well as color swatches.
- Typography: Explain how your design’s typography affects readability and appearance.
Add any other design resources or components—such as icons, pictures, and illustrations—that go into the finished product.
Step 9. Testing and iteration
This is the time to talk about any testing and iterations you carried out following the launch. By sharing these observations, you can demonstrate how you improved your designs to make the user experience better.
- Provide a brief explanation of the testing’s objectives, methodology, and results.
- Specific enhancements: Explain the precise adjustments made in response to the testing comments. Emphasize how these revisions fixed any problems found and enhanced the user experience.
Step 10. Conclusion and final thoughts
This last phase should be brief yet instructive. Give your final views and any lessons you learnt from the project after reflecting on the process. To illustrate the impact of your work, if at all possible, give certain measurements or feedback.
Free UPSKILLING Courses!
Take your first step toward mastering in-demand skills, acing interviews, and securing top-tier jobs with Entri's free upskilling courses.
Start Learning!Best Platforms to Host Your Portfolio
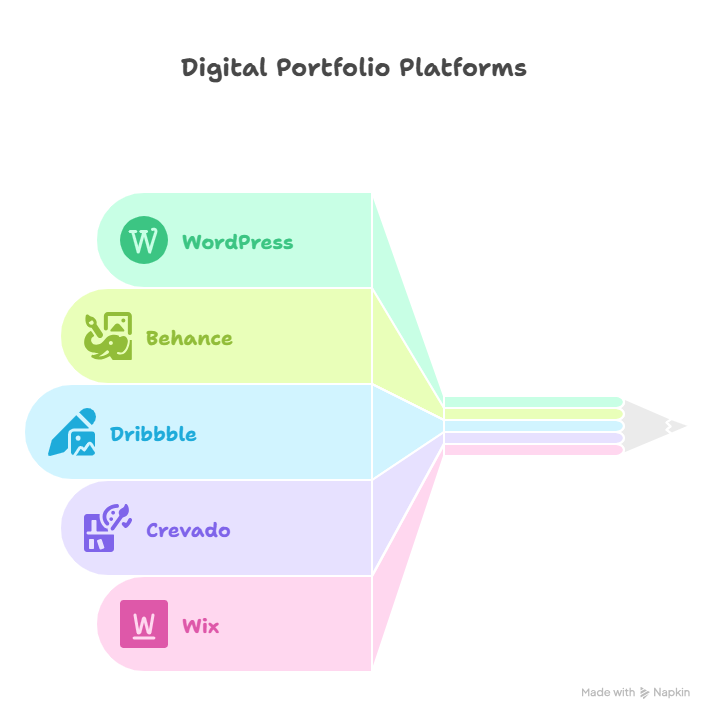
WordPress
Because of the variety of services it offers, WordPress is another well-liked option for creative workers. This website offers choices for people who want to create their own website and those who would rather use pre-made themes, regardless of your level of coding expertise. The ability to use plugins to improve their portfolio and make designers stand out from the competition is one of WordPress’s many benefits.
Behance
Being classified as an Adobe-owned social networking platform, Behance is a really special choice for designers. It serves as a hub for the design community to interact and exchange artistic creations. This implies that designers gain clients, market their brand, and display their work on the website. In essence, Behance facilitates the process of obtaining clients by connecting clients and businesses with creative designers.
Dribbble
Designers can connect with possible clients or employers on Dribbble in addition to sharing their work with other community members. It is a terrific opportunity to network with like-minded professionals, but it might not be the greatest choice if all you want is to showcase your work and not get comments from your peers in the sector.
Crevado
Crevado is a plain and easy-to-use platform for hosting portfolios for creative designers that has gained popularity in recent years. Subscriptions are offered for free and for a fee; the free plan hosts up to 30 photos. For people who are fresh to the design industry and might not have many samples, this is a fantastic option. The use of a custom domain and CSS is advantageous for those who opt for the paid subscription.
Wix
Although Wix isn’t just for hosting design portfolios, it does include a lot of templates that may make your online portfolio stand out. Although the collection grows with a premium subscription plan, there are some templates available for those who choose the free access option. Those who decide to upgrade can benefit from more bandwidth and utilize a personalized domain name.
Visual Design Tips for Portfolio Presentation
- Clean and Consistent Layout: To produce a unified visual experience, use a consistent layout and design across your portfolio.
- High-quality Pictures: Make sure every picture is sharp and eye-catching.
- Clear Navigation: Ensure that visitors can easily browse your portfolio and locate the projects that pique their attention.
- Use Visual Hierarchy: To direct the viewer’s attention, use distinct headers, subheadings, and other visual components.
- Don’t Overload: Make sure your writing is clear and easy to read. Make use of images to bolster your writing.
- Emphasize Your Procedure: Use wireframes, mockups, prototypes, and sketches to demonstrate your design process.
- Think About Your Audience: Whether it’s a recruiting manager, a prospective customer, or a colleague in the field, customize your portfolio to appeal to them.
How to Promote and Share Your Portfolio
The best approach is to craft a custom strategy for your personal brand. Start by going through these tips and testing which methods will help you land more projects.
1. Update Your Portfolio Design
Keep abreast on the most recent developments in design. Employing contemporary color schemes, patterns, and layouts suggests that you are a dedicated, adaptable professional who keeps an eye on your portfolio. Potential customers will feel more at ease contacting you.
2. Join Relevant Groups
Participate in professional internet communities. Establishing your authority can be achieved through participating in pertinent conversations, exchanging ideas with like-minded people, and offering guidance on subjects you are knowledgeable about. Every meaningful encounter shows how knowledgeable you are.
3. Work With Other Industry Professionals
For seasoned creative workers, this can be a useful method of communicating with the greater internet community as well as their local community. Working with established brands or individuals increases your authority, and sharing projects with other industry pros will expand your portfolio. Emerging creative professionals should think about doing this more frequently. It’s a good method to launch your profession. Otherwise, if there aren’t many samples on your website, you can struggle to get paying customers.
6. Share Your Story
Authenticity is valued by customers. Humanizing your brand will make it easier for you to close agreements, regardless of the goods or services you offer. Share with others your business troubles and achievements. Knowing they’re collaborating with a “real person” who values and respects them will make them feel more at ease.
- Post links to your portfolio on websites such as Instagram, Behance, LinkedIn, and others.
- Make use of pertinent hashtags to expand your audience.
- Interact with your audience and post behind-the-scenes content.
5. Use Online Platforms and Communities:
6. Take Paid Advertising into Account:
To reach a larger audience, try paid advertising on search engines or social media. Target particular interests or demographics according to your ideal client profile.
Final Portfolio Checklist Before You Apply
- Clear case study storytelling
- Visual and UX design alignment
- Mobile friendly
- Fast-loading
- Updated contact info
- Personalized About Me section


