
Table of Contents
You don’t need much preparation to start crocheting other than the basic tool kit. The four basic things you need are worsted-weight yarn, a 5 mm (H-8) hook, a pair of scissors, and a tapestry needle.
As a beginner, you can start off with the slip knot, chain stitch and also single crochet. You can learn them within two to three dedicated practice sessions. You can easily finish a simple project such as a scarf or a table cloth within a week.
For fashion design students and hobbyists alike, crochet is one of the fastest as well as lowest-cost ways. You can prototype textures, trims, and accessories by hand without needing any sewing machine.
Learn Advanced Designing & Boutique Skills with Experts. Join Now!
Key Takeaways
- Start with four essentials: 5 mm (H-8) hook, worsted-weight yarn, scissors, tapestry needle.
- Learn stitches in order: chain, single crochet, half double, double.
- Practice 20 to 40 minutes daily to build muscle memory and reduce wrist strain.
- Begin with flat projects: swatch, cotton dishcloth, then a scarf.
- Use crochet as a design tool to test trims, collars, and textured panels.
- Starter cost is low: a beginner kit costs less than a casual dinner.
Why Crochet is Worth Learning for Fashion Design
Crochet gives fashion designers things that few other techniques offer. They are
- the ability to build texture, fabric, and structure from a single strand of yarn
All this without needing any pattern paper, sewing machine, or fabric waste. Crochet has been around for ages and that’s why you see it popping up on runways and independent fashion lines. It’s portable, it’s cheap, and it’s basically impossible to mess up.
At its heart this is a great way for design students or hobbyists to have a play with different ideas. prototype a trim without having to commit to a full length of fabric, test out a new stitch texture in a collar or see if a certain neckpiece or bag strap would actually work.
And the great thing about crochet accessories – whether it’s a scarf, tote bag or headband – is that there is a pretty steady demand for them. You can sell them through your own Instagram shop or at local craft markets, and you’ll probably get a pretty good reception.
Master Fashion Designing and Create Your Signature Style
Unlock your creative potential with our expert-led Fashion Designing course. Build in-demand skills and step confidently into the world of fashion!
Begin Your Fashion Career Today!Tools and Materials You Actually Need
The most inspiring factor is that you don’t need a large investment to begin this. A functional beginner kit covers four items that are easily available through craft stores, general stores, or online marketplaces.
| Item | Why You Need It | Beginner-Friendly Option |
| Crochet hook | Forms every stitch | 5 mm (H-8) aluminum or ergonomic-grip hook |
| Yarn | The main working material | Worsted/aran weight (category 4), acrylic or cotton |
| Scissors | Clean yarn cuts | Small, sharp sewing scissors |
| Tapestry needle | Weaving in ends, seaming | Blunt needle with a large eye |
| Stitch markers | Marking rows or joins | Locking markers, or a loop of scrap yarn |
| Measuring tape | Checking gauge and size | Soft, flexible tape measure |
Choosing yarn:
Acrylic yarn is pretty easy on the wallet, is machine-washable, and won’t judge you if your first project turns out a bit wonky.
Cotton yarn is a bit stiffer and actually works pretty well for stuff like dishcloths or summer accessories .Stick with worsted weight yarn.
You can usually tell what that is by looking at the label, it’s usually “category 4” or “aran/worsted”. It Is nice and thick so you can see your stitches but not so chunky that it’s hard to get a handle on.
Choosing a hook:
A 5mm hook (or H8 if you’re counting on US hook-sizes) is the way to go with worsted weight yarn, that’s what most beginner crocheters go with for their first projects.
If your stitches are all tight and fiddly to get in, try moving up to a 5.5mm. Conversely if they feel a bit too loose try dropping back to a 4.5mm.
The Six Stitches Every Beginner Should Learn
Learn these in sequence as each one builds on the last, and together they cover the majority of beginner and intermediate patterns.
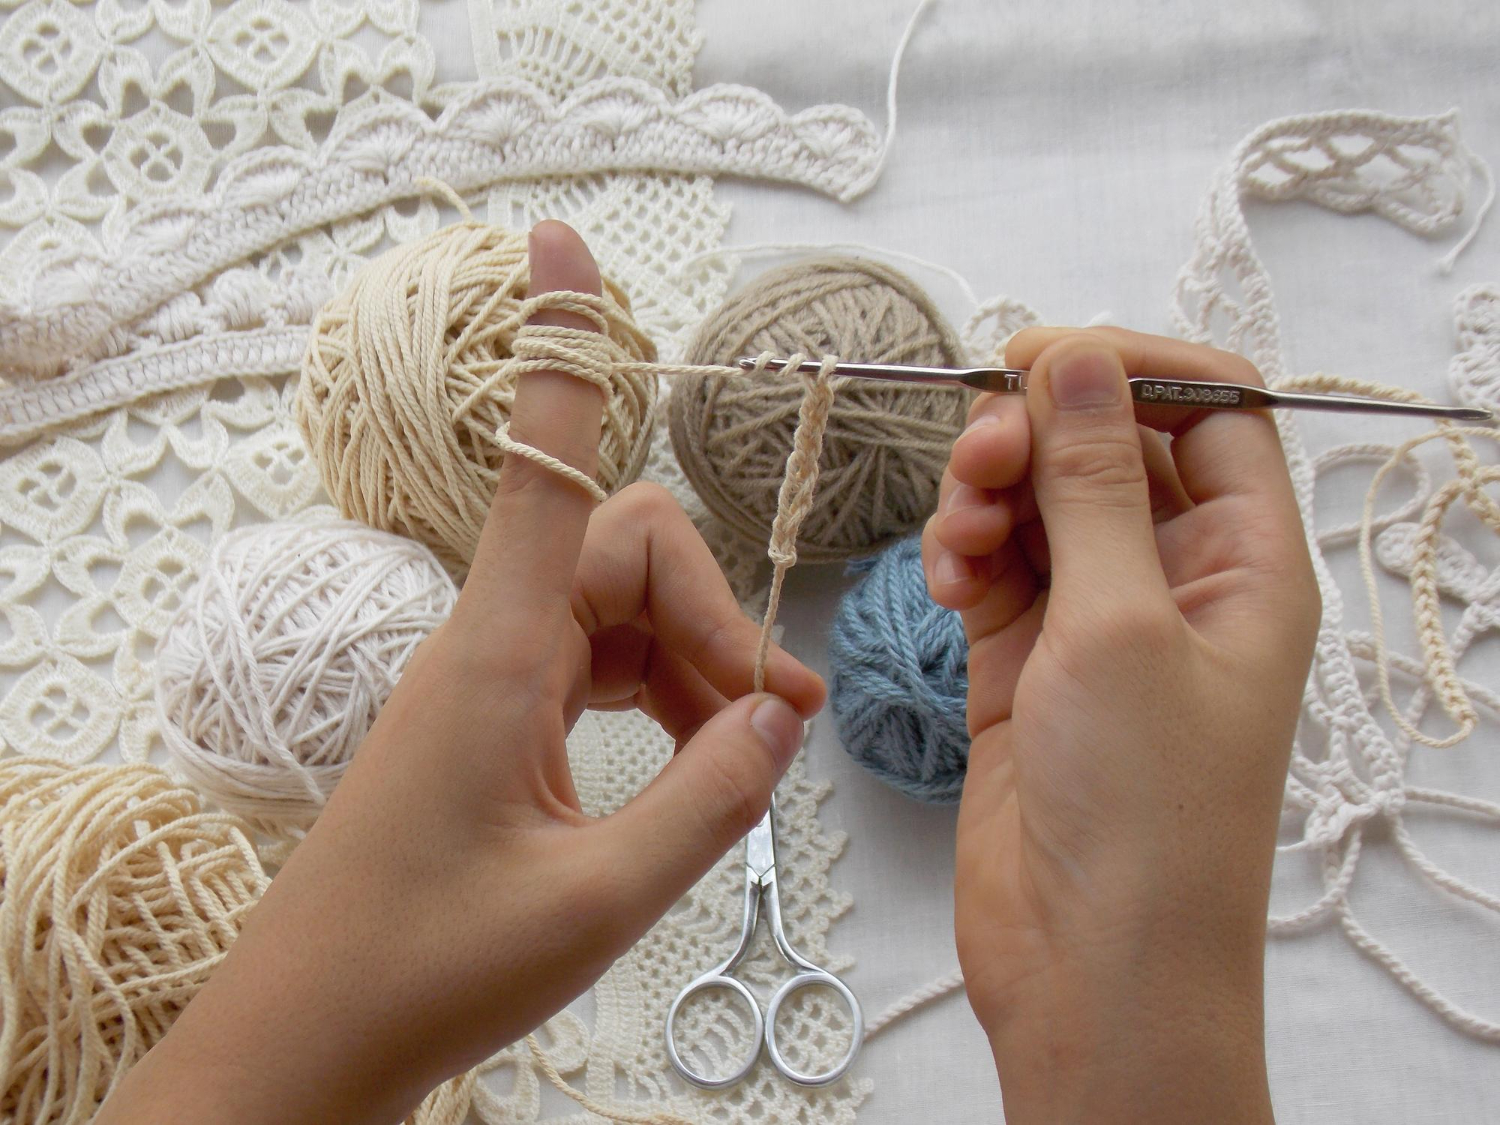
Slip knot and foundation chain
Every project starts here. Make a loop, pull the working yarn through to form a slip knot, place it on your hook, and chain 15 to 20 stitches to practice.
Chain stitch (ch)
Sounds simple but it’s the basis of most projects. just grab some yarn and pull it over the hook and then pull it through the loop on the hook that is already there. Then just keep repeating.
Single crochet (sc)
Stick the hook in a stitch, grab some yarn and pull it over, then pull up a loop, grab some yarn again, and then pull both loops off the hook. That’s how you get a nice sturdy fabric good for edges or small accessories.
Half double crochet (hdc)
Yarn over before you stick the hook in a stitch, then pull through all three loops and you’re good to go. A bit taller than a single crochet and you’ll probably want to use it for things like scarves.
Double crochet (dc)
Grab some yarn, stick the hook in a stitch, pull up a loop, then pull off the hook 2 loops at a time. It’s quick and easy to work and produces a looser, yet more drapey fabric. Which is perfect for scarves and lightweight garments.
Turning chains
At the end of every row you’ll need to chain a few stitches to turn your work so the edges stay straight. A single crochet row means you’ll need 1 chain to turn, a half double row will need 2 and a double row will need 3.
Once these feel comfortable, learn basic increasing (working two stitches into one) and decreasing (skipping a stitch, or working two stitches together). These two techniques let you shape rounds like beanies and bag bases.
Five Beginner Projects, in the Right Order
Don’t jump straight to a garment. These five projects are sequenced so each one teaches a new skill before you need it.
| Project | Time Needed | What It Teaches |
| Practice swatch | 10–30 minutes | Stitch consistency and tension |
| Cotton dishcloth | 2–4 hours | Flat edges, even rows |
| Simple scarf | 4–8 hours | Long-row consistency, turning chains |
| Basic beanie | 4–6 hours | Working in rounds, increasing |
| Small tote bag | 6–10 hours | Seaming, panel construction |
- Start with a swatch – chain 20 and work ten rows of single or double crochet, purely to get your tension consistent.
- Move to a cotton dishcloth next as it forces you to keep edges straight without the pressure of a “real” project.
- A simple scarf comes next. This is just a longer and more sustained version of the same skill.
Only after these three should you attempt a beanie or tote as both of these introduce new techniques like rounds and seaming.
Master Fashion Designing and Create Your Signature Style
Unlock your creative potential with our expert-led Fashion Designing course. Build in-demand skills and step confidently into the world of fashion!
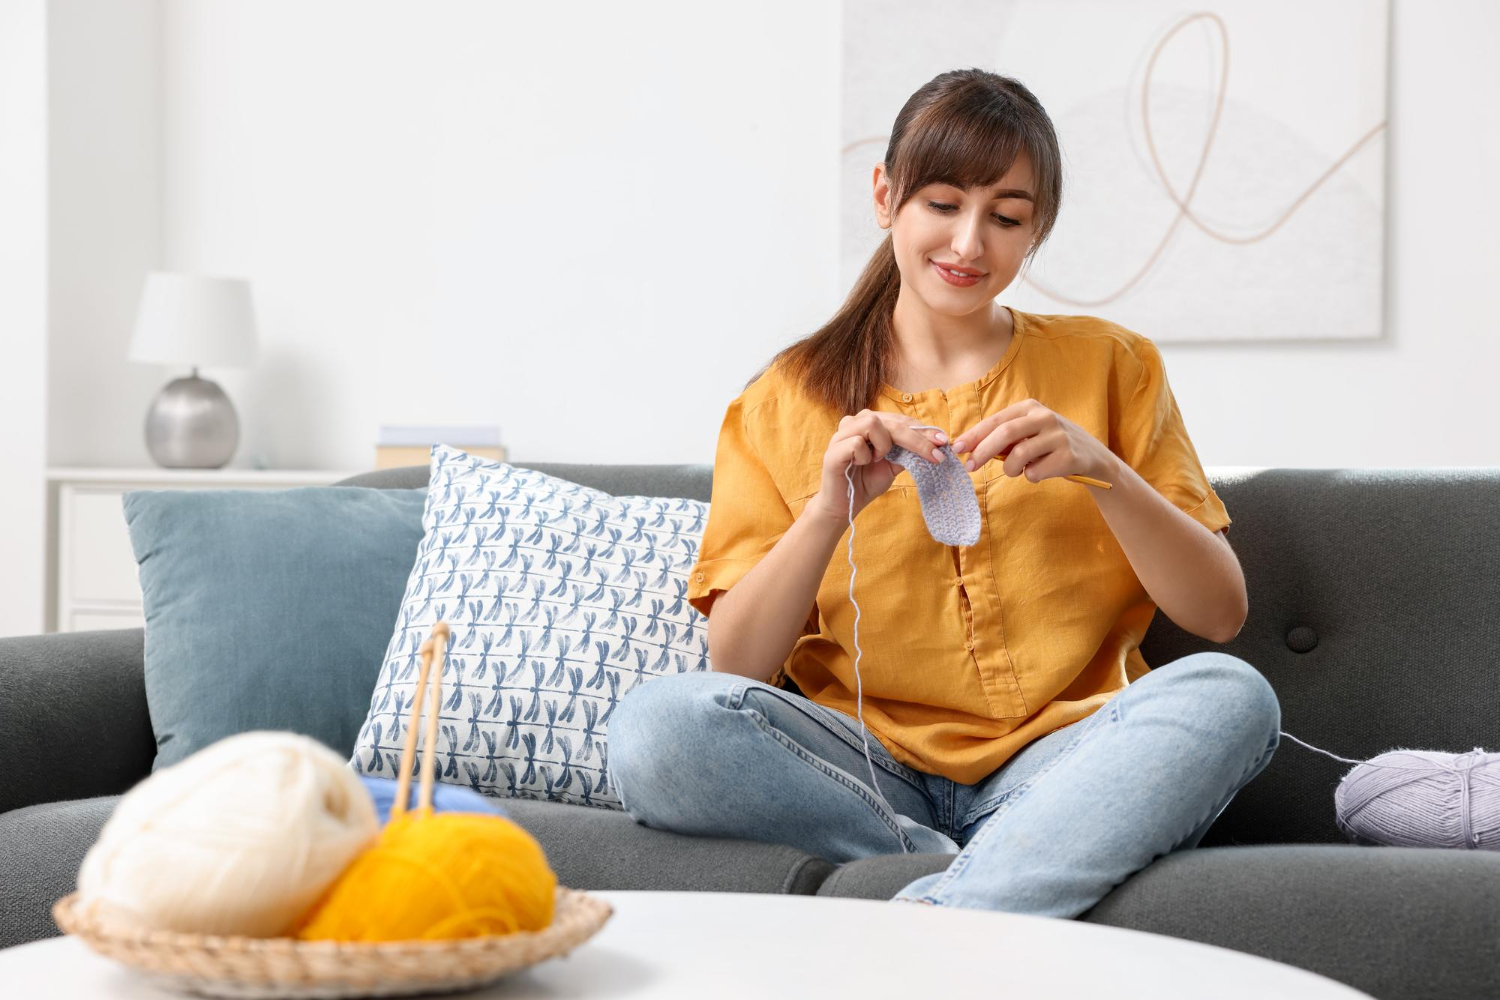
Begin Your Fashion Career Today!Workspace and Practice Habits that Actually Help
Of all, what matters the most is a comfortable setup. This is especially if you plan to crochet on a regular basis:
- Light:
Stitch definition is hard to see in dim light. So work near daylight or a warm task lamp.
- Seating:
Make sure you sit on a supportive chair with your wrists at a neutral angle. This reduces strain significantly.
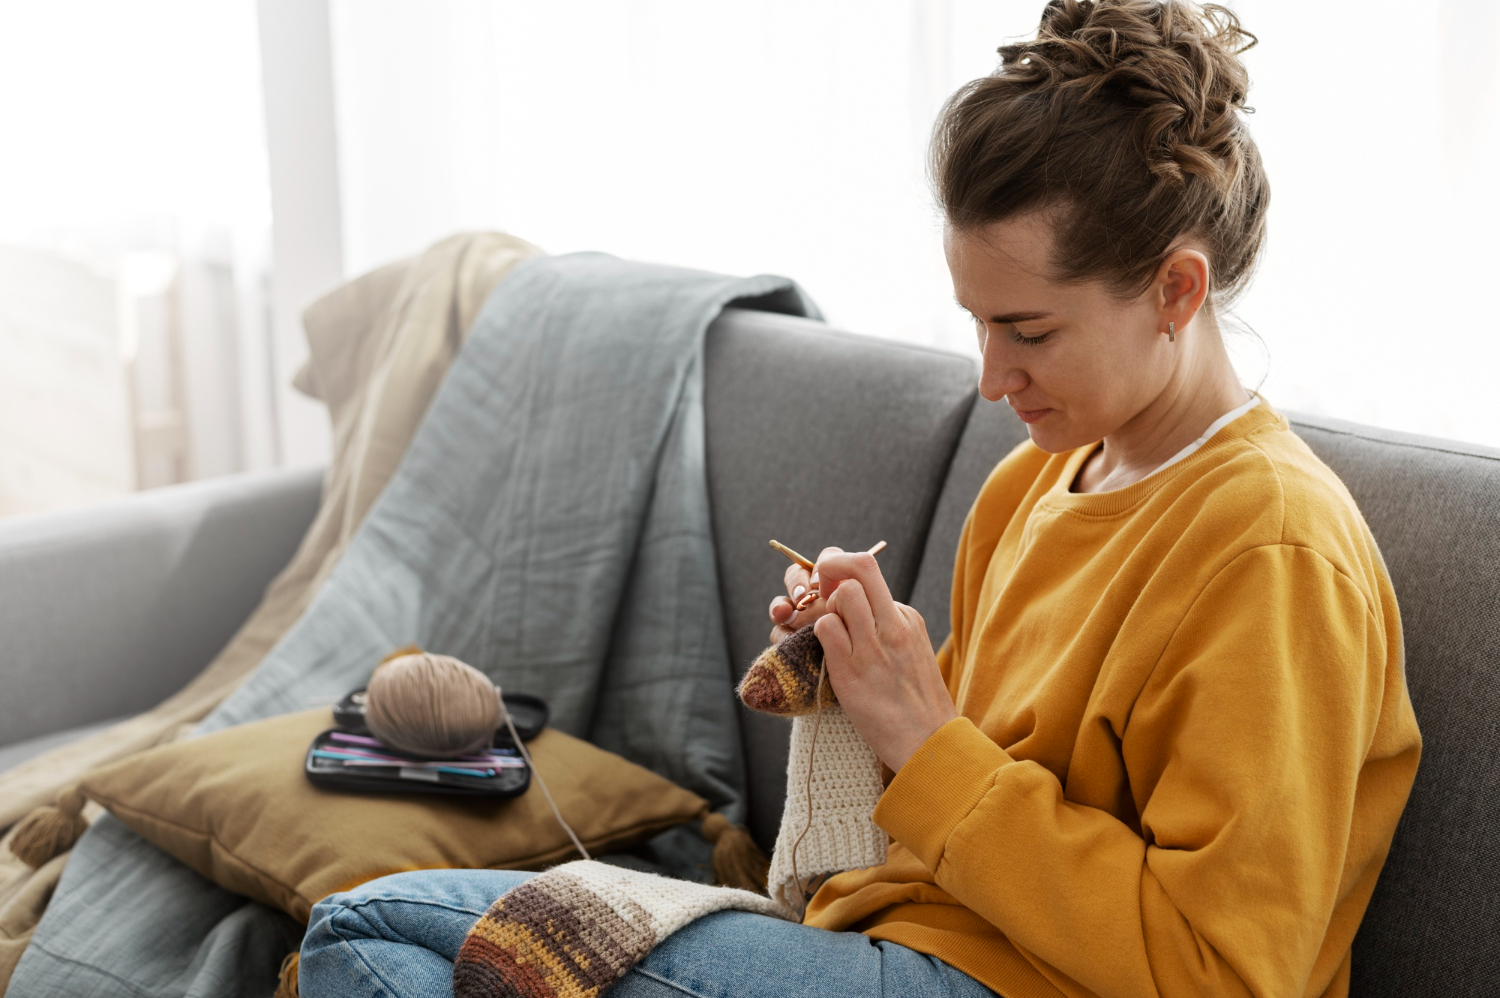
- Session length:
Crocheting 20 to 40 minutes daily builds skill faster than occasional two-hour sessions. Moreover, this is easier on your hands.
- Breaks:
Don’t forget to pause every 30 to 45 minutes in order to stretch your wrists and rest your eyes.
How to Read a Crochet Pattern
Most of the confusion beginners face isn’t the stitches. It’s the pattern shorthand. A typical pattern includes:
- Materials: Yarn weight, hook size, and estimated yarn quantity.
- Abbreviations: ch (chain), sc (single crochet), hdc (half double), dc (double crochet), sl st (slip stitch), inc/dec (increase/decrease).
- Row-by-row instructions: For example, “Row 1: Ch 30, dc in 4th ch from hook and in each ch across. Turn.” simply means: chain 30, work double crochet across the row, then turn to start the next row.
- Gauge: A reference like “18 stitches × 20 rows = 10 cm” tells you whether your tension matches the designer’s. This is useful for garments where sizing matters.
Fixing Common Beginner Mistakes
| Problem | Likely Cause | Quick Fix |
| Stitches too tight or too loose | Grip or hook size mismatch | Loosen your hold; adjust hook size by 0.5 mm |
| Uneven edges | Missed stitches or inconsistent turning chains | Count stitches at the end of every row |
| Unexpected holes | Skipped stitches | Recheck the pattern repeat before continuing |
| Yarn splitting | Rough yarn or an aggressive hooking motion | Choose smoother yarn; insert the hook gently |
Small mistakes can usually be fixed by “tinking”, which is undoing a few stitches at a time. Larger errors are faster to fix by “frogging,” which means unraveling back to before the mistake.
Finishing and Styling for Design Use
When you’re all done with a piece, take a tapestry needle and weave in all the loose ends. Then pop them into a few stitches so they won’t come undone.
And finally, if you’re planning on blocking (which is just a fancy way of saying you want to get the thing to look just right) cotton can be lightly wet blocked and then left to dry flat.
Acrylic on the other hand does better with a nice steam rather than direct heat. For design applications, crochet motifs and trims can be layered onto existing garments:
- a crochet panel along a sleeve
- a scalloped edge on a collar
- a textured motif strip repurposed as a belt or bag strap
As the pieces are worked individually, they’re easy to test and swap before committing to a final design.
Learn Advanced Designing & Boutique Skills with Experts. Join Now!
Conclusion
Crocheting at home is one of the most accessible crafts to pick up. This is primarily because the tools are inexpensive, the learning curve is short, and the payoff is a genuinely useful skill for both personal projects and design work.
You should start small with a swatch, moving forward with a dishcloth, and then a scarf. Each project builds the muscle memory and confidence you’ll need even before attempting shaped or seamed pieces. Give it a focused week of short daily sessions, and you’ll likely have completed your first wearable project.
|
RELATED POSTS |
|
| Easy Crochet Stitches for Beginners | |
| Crochet vs Knitting: What’s the Difference? | |
| Beginner Guide to Crochet | |
Master Fashion Designing and Create Your Signature Style
Unlock your creative potential with our expert-led Fashion Designing course. Build in-demand skills and step confidently into the world of fashion!
Begin Your Fashion Career Today!Frequently Asked Questions
How long does it take to learn basic crochet?
Most beginners feel comfortable with core stitches after 3 to 7 short practice sessions of 20 to 40 minutes each. Consistency matters more than session length.
Which hook size should I start with?
A 5 mm (H-8) hook pairs well with worsted-weight yarn and is the standard recommendation for first-time crocheters. Adjust up or down by 0.5 mm if your stitches feel too tight or too loose.
Do I need to know how to knit before learning to crochet?
No, crochet and knitting are separate skills with different tools and techniques. Many people learn crochet first because it uses a single hook rather than two needles, which some find easier to control.
What's the easiest stitch to learn first?
The chain stitch is the simplest and forms the foundation row for nearly every project. A single crochet is usually the first “real” stitch beginners master after that.
Why does my crochet project curl at the edges?
Edge curling usually happens when stitches are too tight or the tension is inconsistent across rows. Relaxing your grip and checking your stitch count at the end of each row usually resolves it.
How much yarn do I need for a scarf?
A standard adult scarf typically uses 300 to 400 grams of worsted-weight yarn, depending on length and stitch density. Buying slightly more than the pattern suggests avoids running short mid-project.
Can I crochet in rounds instead of rows?
Yes, working in rounds is how items like beanies, bags, and doilies are shaped, using increases to widen the circle as you go. It’s typically introduced after a beginner is comfortable with straight rows.
How do I stop my hands from hurting while crocheting?
Hand and wrist strain usually comes from gripping too tightly or crocheting for long, uninterrupted stretches. Taking breaks every 30 to 45 minutes and relaxing your grip significantly reduces discomfort.


