

Table of Contents
To begin with, mastering makeup techniques require you to follow eight core steps. Just need to follow the steps from skin prep to final setting in the right order, that too with minimal tools.
As a beginner you do not need a large makeup set. With a few well-chosen products, apply products in a thin layer and blend well. You can also create a natural as well as long-wearing look.
Master Advanced Skincare, Makeup, Hair, and Salon Management. Enrol Now!
Key Takeaways
- Prep skin first: cleanse, moisturise, prime.
- Use thin layers; build coverage only where needed.
- Brows and simple eye makeup give the biggest impact.
- Pick products for your skin type: mattifying for oily, hydrating for dry, fragrance-free for sensitive.
- Setting powder and spray boost longevity in humidity.
- 5-minute routine: tinted moisturiser, brow gel, mascara, tinted lip balm.
Quick Flow for Your Checklist
Mastering the following sequence covers most of the everyday, wearable looks. It answers what new users search for the most. This includes natural brows, a smooth base, and simple eye definition.
Cleanse → Moisturise → Prime (optional) → Foundation → Concealer → Brows → Eyeshadow + Mascara → Blush/Bronzer → Lip Colour → Set
Master Makeup, Hair & Skincare to Build Your Beauty Identity
Unlock your creative potential with our expert-led Beauty & Wellness course. Build in-demand beauty skills and step confidently into the world of beauty!
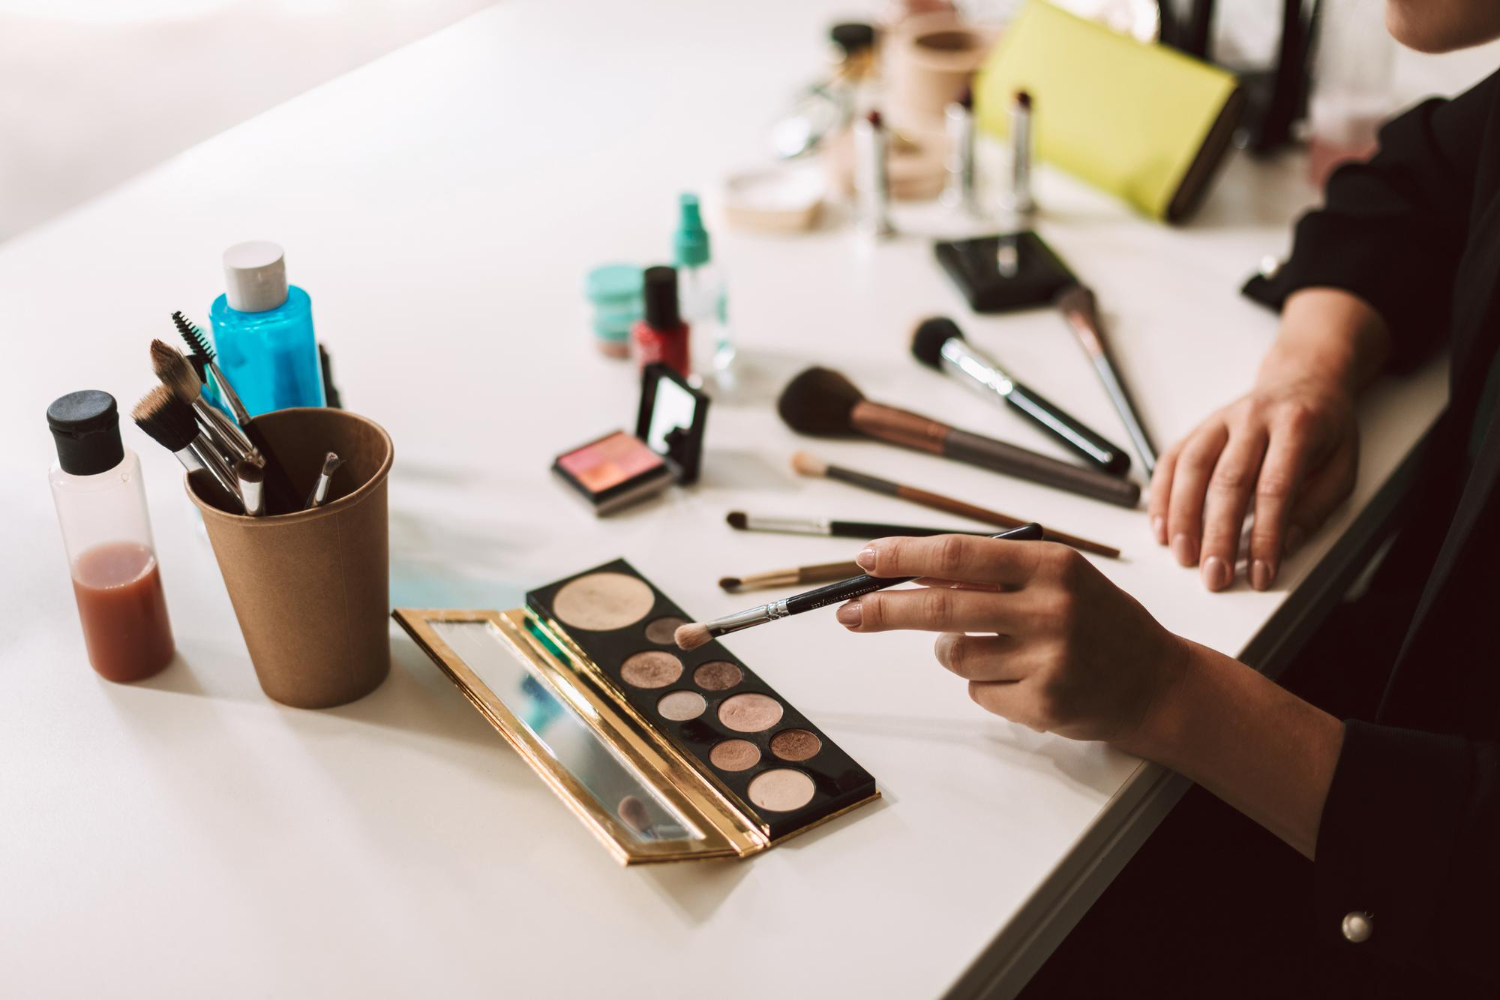
Your Beauty Career Starts Here!Tools & Products Cheat Sheet
| Tool | Purpose | Beginner Tip |
| Foundation brush/sponge | Smooth base | Use a damp sponge for a dewy finish |
| Concealer brush or fingertip | Spot coverage | Warm concealer on fingertip before tapping in |
| Powder brush | Set makeup | Use light, circular motions |
| Eyebrow pencil/powder | Fill sparse areas | Use short, hair-like strokes |
| Eyeshadow brushes (flat + blending) | Lid colour + blending | Tap off excess pigment before applying |
| Pencil eyeliner | Define lash line | Smudge slightly for a soft look |
| Mascara | Open up lashes | Wiggle at the base, then sweep upward |
| Blush brush | Add colour | Smile and apply to the apples of cheeks |
| Lip balm + lipstick/tint | Hydrate and colour | Blot and reapply for longer wear |
Products by Skin Type
Dry skin
- Hydrating primers
- Dewy or cream foundations
- Cream blush
Oily skin
- Mattifying primer
- Long-wear or matte foundation
- Powder blush
Sensitive skin
- Fragrance-free
- Dermatologically tested products
- Always patch-test first
Step-by-Step Guide
Step 1: Skin Prep – The Foundation of Good Makeup
If you have a well-prepped skin, it can make things smooth from the very start. This helps in making the makeup work more evenly and also last longer. The basic sequence is:
- Start with a cleanse to remove oil and dirt
- If it’s in your routine, use toner
- Then moisturise using a gel or serum for oily skin and a cream for dry skin
- Finish with a lightweight SPF
Using a primer is optional. But it is recommended as it helps with pore-blurring or oil control.
Common Mistakes:
Skipping moisturiser, over-applying primer, or layering foundation on top of sunscreen before it has absorbed. Give sunscreen a minute to sink in before moving to base makeup.
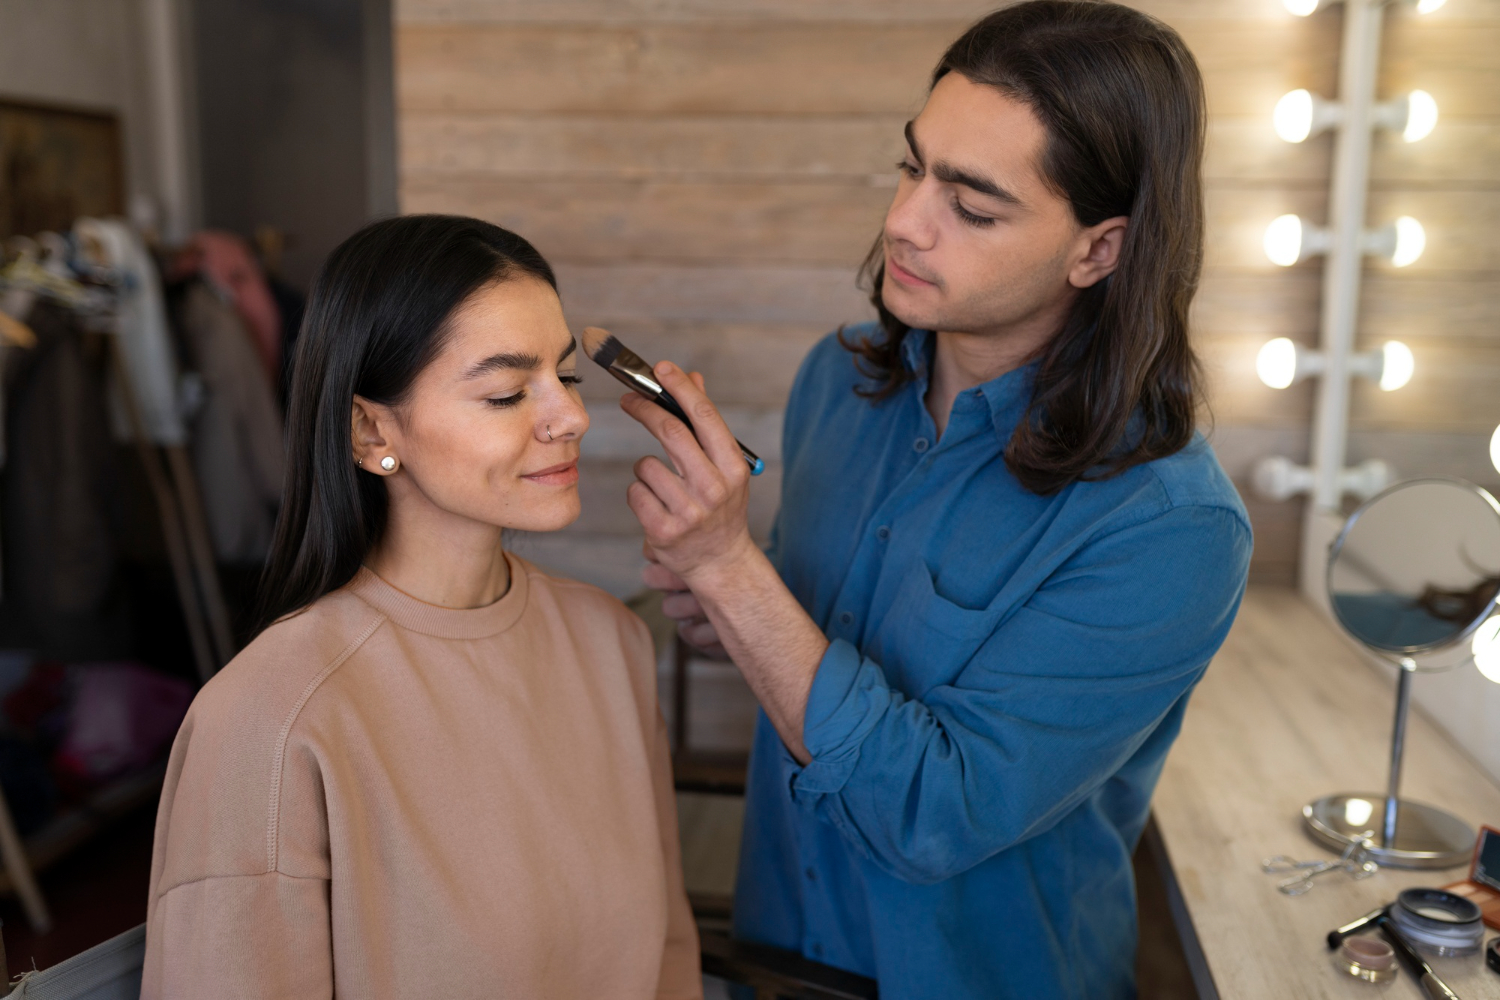
Step 2: Base Makeup – Foundation & Concealer
It is important that you match your foundation shade. This can be done by testing it along your jawline in natural light and not on your hand.
- Use a small amount starting at the centre of the face – forehead, nose, cheeks, chin.
- Gradually blend outward. You can use a damp sponge for a natural finish or a brush for fuller coverage.
- After foundation, apply concealer for targeted coverage. Then lightly set only the areas that need it.
Cakey finish?
Use less powder and press product with a damp sponge instead of sweeping.
Oxidation?
Test your shade for a few minutes before buying, since some formulas darken as they settle.
Step 3: Brows – Shape, Fill, Set
Brows actually frame the face and so can instantly lift your features.
- Brush the hair strands upward. Then lightly map the start, arch, and tail with a pencil if needed.
- Fill sparse patches with hair-like short strokes rather than solid lines.
- Set the shape with a clear or even a tinted brow gel.
A shade one tone lighter than your natural hair colour keeps the result soft rather than blocky.
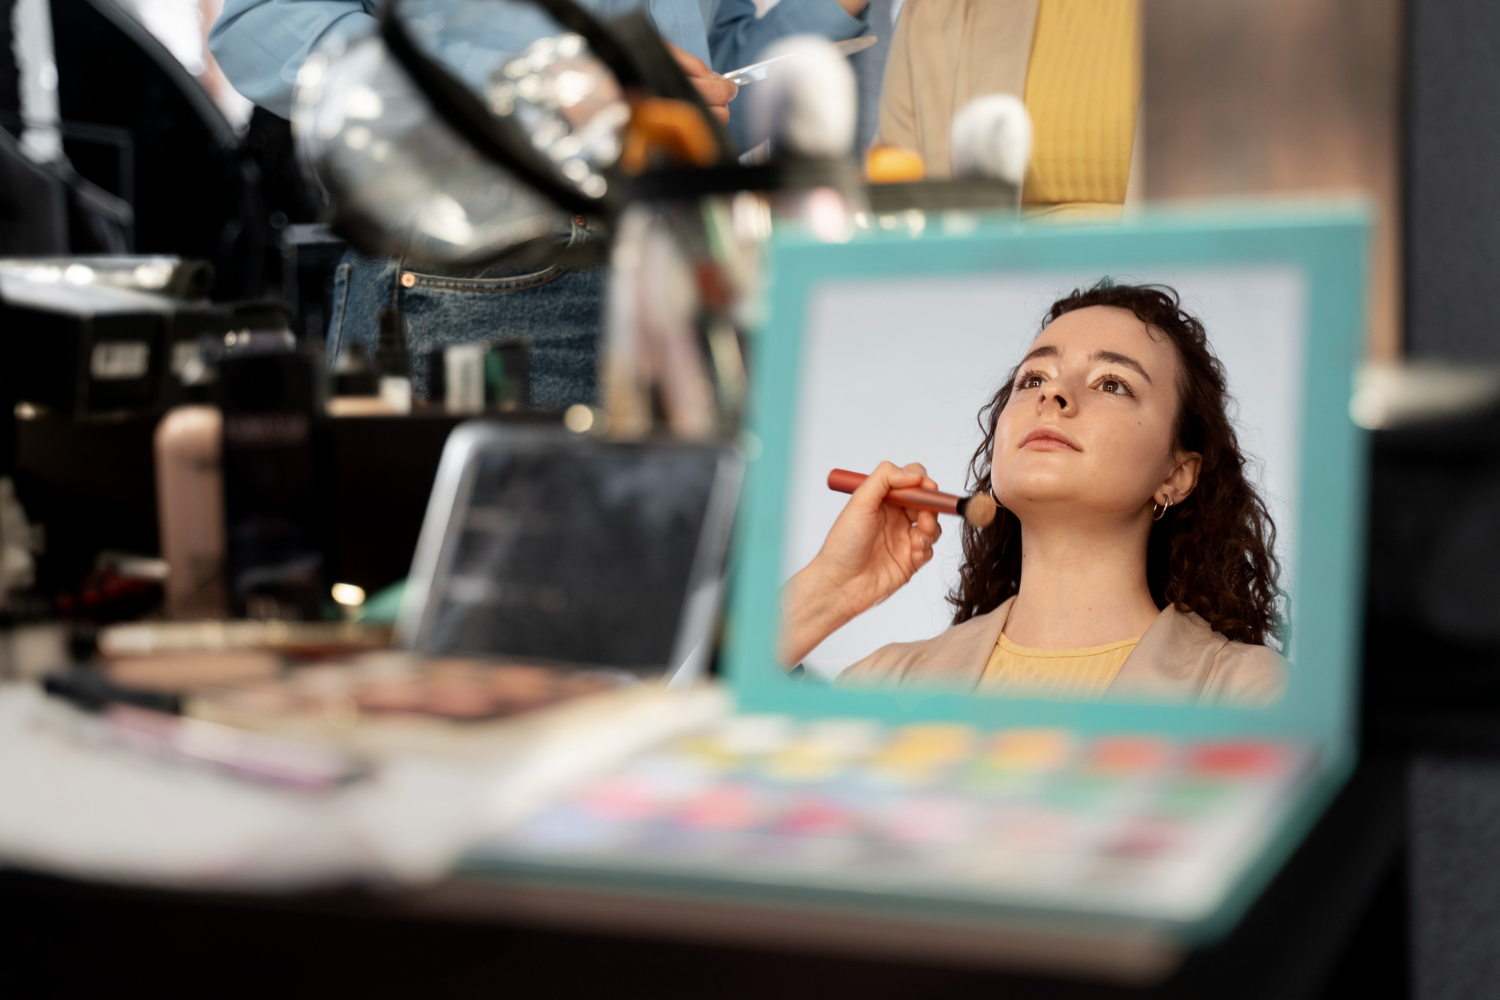
Step 4: Eyes – Simple Everyday Eye Makeup
When it comes to the eyes, for beginners, the goal is depth and definition. Do not mistake it for a full smoky-eye technique.
- Prime the lids or apply a thin layer of concealer
- Then sweep a neutral transition shade through the crease
- Add a slightly deeper shade to the outer third for dimension
- Pat a lighter shade on the lid centre for brightness (optional)
- Start blending the edges to avoid any harsh lines. Apply a thin liner, curl your lashes, and then finish with mascara.
Day looks: Soft neutrals with no liner or just a very thin line.
Evening looks: Deepen the outer corner and then add a soft wing or a smoked lower lash line.
In order to prevent shadow fallout under the eyes, dust a little translucent powder there. Do this before applying shadow. Once you’re done, you can just brush it away.
Step 5: Eyeliner & Mascara – Define Without Drama
Pencil liners are the easiest for beginners. They give a softer as well as smudged look.
Liquid or pen liners help create sharper lines.
- Apply short dashes along the lash line rather than one continuous stroke for more control.
- For mascara, you can wiggle the wand at the base of lashes to deposit product. Then sweep upward.
One to two coats is usually enough; comb through with a clean spoolie if lashes clump.
Step 6: Cheeks – Natural Shaping
Smile and apply blush to the apples of your cheeks. This can be done by blending upward toward your temples for a healthy flush.
Bronzer is optional and works best applied lightly where sun naturally hits – temples, cheek hollows, jawline.
A touch of highlighter on the cheekbones, brow bone, and nose bridge adds subtle glow.
Cream blush suits dry skin whereas powder blush holds up better on oily skin.
Step 7: Lips – Prep to Finish
First, gently exfoliate the lips and then apply a hydrating balm. Do this before adding any colour. A matching lip liner adds definition. Blotting after the first layer helps the colour to last longer.
For everyday wear, a tinted balm can be used as it gives quick hydration.
Step 8: Setting & Longevity
Use translucent powder in the T-zone to control shine. Then finish with a setting spray for extra hold, especially in humid weather. Carrying blotting papers, a compact powder, and your lipstick makes touch-ups easy.
In humid climates, mattifying primers and lightweight powders hold up best. In drier weather, hydrating base products are more comfortable.
Common Beginner Mistakes & Quick Fixes
| Mistake | Quick Fix |
| Over-applying foundation | Start thin and build coverage gradually |
| Harsh, blocky brows | Brush through with a spoolie and soften edges |
| Patchy eyeshadow blending | Use a clean blending brush in small circular motions |
| Mascara clumps | Wipe excess product off the wand before applying |
Master Makeup, Hair & Skincare to Build Your Beauty Identity
Unlock your creative potential with our expert-led Beauty & Wellness course. Build in-demand beauty skills and step confidently into the world of beauty!
Your Beauty Career Starts Here!Quick Routines by Time
5-Minute Routine:
Moisturiser + SPF, tinted moisturiser or BB cream, concealer where needed, groom brows, mascara, tinted lip balm.
15-Minute Routine:
Full skin prep, light foundation, concealer, brows, quick crease and lid shade, mascara, blush, lip colour.
30-Minute Polished Routine:
Precise brows, full base, detailed eyeshadow, eyeliner, contour or bronzer, highlighter, full lip colour.
Product Ideas by Budget
| Category | Budget-Friendly | Mid-Range | Premium |
| Foundation/BB Cream | Swiss Beauty, Insight Cosmetics | Lakmé, Maybelline | SUGAR Cosmetics, Colorbar |
| Concealer | Swiss Beauty | Lakmé, Maybelline | SUGAR Cosmetics |
| Mascara | Insight Cosmetics | Lakmé, Maybelline | SUGAR Cosmetics |
| Kajal/Eyeliner | Faces Canada | Lakmé | SUGAR Cosmetics |
| Blush | Swiss Beauty | Faces Canada | Colorbar |
Note that the price of products and thereby services may vary by offer and season. So make sure you check the current shade ranges and reviews before making any purchase. This is especially the case for foundation and concealer.
Master Advanced Skincare, Makeup, Hair, and Salon Management. Enrol Now!
Conclusion
Prime concern should be to realize that any basic makeup does not require you to have a large collection of products or any advanced techniques. It is just about the right order, using a few well-chosen essentials, and most importantly with consistent practice.
You can start with skin prep and a natural base. You can build confidence with brows care, or with a simple eye definition, coupled with a lip colour that you think suits you. Practising one technique at a time is a more sustainable way to improve your makeup skills.
Trying to make things perfect from the very start with an entire look overnight won’t work. This can actually be frustrating with no good end. Revisit the time-based routines whenever you’re short on time.
|
RELATED POSTS |
|
| How to Become a Makeup Artist | |
| Beginner’s Guide to Beauty Therapy | |
| Benefits of Regular Skin Care Treatments | |
Master Makeup, Hair & Skincare to Build Your Beauty Identity
Unlock your creative potential with our expert-led Beauty & Wellness course. Build in-demand beauty skills and step confidently into the world of beauty!
Your Beauty Career Starts Here!Frequently Asked Questions
What is the correct order to apply makeup?
Cleanse, moisturise, prime, foundation, concealer, brows, eyes, cheeks, lips, and finally setting powder or spray. This sequence helps each product perform as intended and prevents patchiness.
How do I choose the right foundation shade?
Test a few shades along your jawline in natural daylight, not on your hand. Let it settle for a few minutes, since some formulas oxidise and darken slightly.
How can beginners avoid cakey makeup?
Apply foundation and powder in thin layers, building coverage only where needed. Setting with a damp sponge instead of a dry brush also helps products sit more naturally.
What are the three must-have products for beginners?
A tinted moisturiser or light foundation, a brow pencil or gel, and a good mascara cover most everyday needs. These three alone create a polished look in minutes.
How do I make my makeup last longer in humid weather?
Prep skin well, use a mattifying primer if you’re oily or combination skin, and set with powder and a setting spray. Carrying blotting papers for touch-ups helps too.
How often should makeup brushes be cleaned?
Brushes used for liquid products should be cleaned weekly, while powder brushes can go two to three weeks. Regular cleaning prevents product buildup and breakouts.
What's a good 5-minute makeup routine?
Moisturiser with SPF, tinted moisturiser or BB cream, brow grooming, mascara, and a tinted lip balm. This covers most everyday needs for college, office, or errands.
Can sensitive skin use regular makeup products?
Sensitive skin does best with fragrance-free, dermatologically tested, non-comedogenic products. Always patch-test a small amount on your inner wrist before applying anything new.
Do beginners need contouring and highlighting?
No, these are optional techniques to add once you’re comfortable with the basics. A light touch of blush and highlighter is usually enough for everyday looks.
How do I keep my brows looking natural, not drawn on?
Use short, hair-like strokes instead of solid lines, and pick a shade close to your natural brow colour. Brushing after filling softens harsh lines.


