
Table of Contents
Nail art can make your nails look cute and pretty. You can try many colours and designs. Some designs are simple. Some are perfect for special days.
You can try nail art for daily use, parties, weddings, birthdays and festivals. You can try flowers, glitter, hearts, or simple lines. Choose colours that you like. A small nail design can make your hands look beautiful.
What is Nail Art?
Nail art is a simple way to make your nails look nice. You can use different colours, shapes, and small designs. You can try simple dots, lines, flowers, or stickers.
Some designs are easy, while others are more detailed. You can choose a design for daily use, parties, or weddings. Nail art can be done at home with a few simple tools.
Simple Nail Art
Simple nail art is easy. You can use:
- One colour.
- Two colours.
- Small dots.
- Small lines.
- Small shapes.
French Tips
French tips are simple. The nails are usually light in colour. The tips are painted white. You can also use other colours.
Flower Nail Art
Flower nails have small flower designs. They look cute and pretty. You can use:
- Pink.
- White.
- Yellow.
- Red.
Glitter Nails
Glitter makes nails shine. You can use glitter on all nails. You can also use it on one nail. It is good for parties.
Bridal Nail Art
Bridal nails are for weddings. Soft colours are popular. You can use:
- White.
- Pink.
- Nude.
- Cream.
You can also add small stones or glitter.
Nail Stickers
Nail stickers make nail art easy. Stick them on your nails. There are many designs. They are good for beginners.
Nail Art Tools
You need only a few things. For example:
- Nail polish.
- Small brush.
- Dotting tool.
- Glitter.
- Nail stickers.
Why is Nail Art Popular?
Nail art makes nails look nice. You can try new colours, and new designs. You can also match your nails with your clothes.
Master Advanced Skincare, Makeup, Hair, and Salon Management. Enrol Now!
Simple Nail Art Designs for Beginners
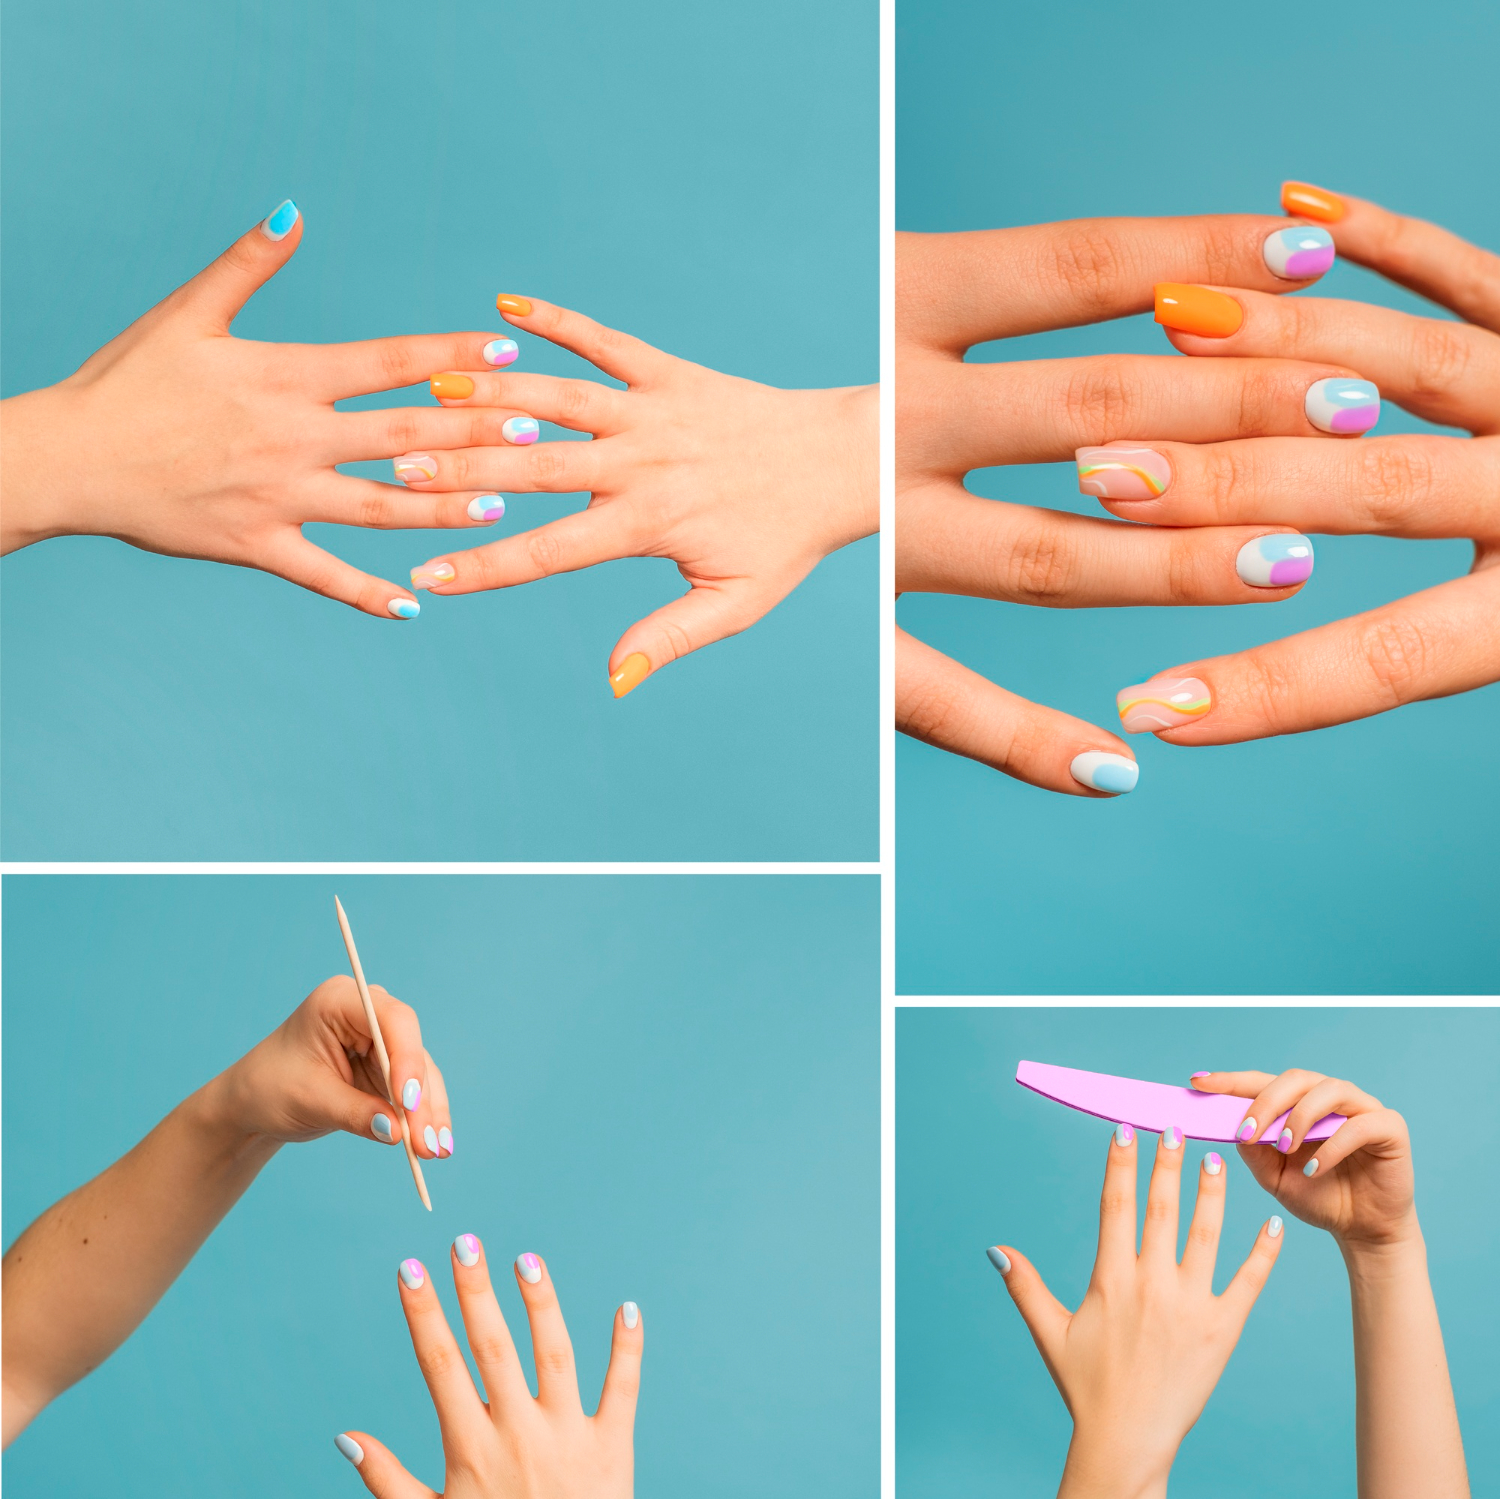
Simple nail art is easy to try at home. You do not need special skills to start. Choose a few colours you like. You can try dots, lines, flowers, or small shapes. Use simple tools like a toothpick or small brush.
Start with easy designs and take your time. With a little practice, you can make your nails look neat and pretty.
One-Colour Nails
This is the easiest nail art. Choose one nail polish colour. Apply it to all your nails. Let it dry. You can choose pink, red, nude, or any colour you like.
Two-Colour Nails
Use two nail polish colours. Paint some nails with one colour. Paint the other nails with the second colour. This gives a simple and nice look.
Dot Nail Art
Dots are very easy to make. Use a small dotting tool. You can also use the end of a toothpick. Make small dots on your nails. Use one or two colours.
Line Nail Art
Lines are also easy. Use a thin nail art brush. Draw small lines on your nails. You can make:
- Straight lines.
- Slant lines.
- Small crossing lines.
Start with simple lines.
Flower Nail Art
Small flowers are easy to make. Make small dots for the petals. Add one dot in the middle. You can use two or three colours. This gives a cute look.
French Tips
French tips are simple and clean. First, apply a light nail colour. Let it dry. Then paint the tips white. You can also use pink or another colour for the tips.
Glitter Nails
Glitter is an easy way to decorate nails. Apply your nail polish first. Add a little glitter. You can use glitter on one nail. You can also use it on the nail tips.
Nail Sticker Design
Nail stickers are very easy. Paint your nails first. Let the polish dry. Place the sticker on your nail. Press it gently. Add a clear top coat if needed.
Heart Nail Art
Small hearts can look cute. Use a small brush or dotting tool. Make two small dots. Join them to make a heart. Use pink or red for a simple look.
Simple Tips for Beginners
Keep your first designs easy. Use only a few colours. Let each layer dry. Do not rush. Clean the skin around your nails if polish gets on it. Practice will help you make better designs.
Master Makeup, Hair & Skincare to Build Your Beauty Identity
Unlock your creative potential with our expert-led Beauty & Wellness course. Build in-demand beauty skills and step confidently into the world of beauty!
Your Beauty Career Starts Here!Bridal Nail Art Ideas
Bridal nail art can make a bride’s hands look beautiful on her special day. You can choose a simple or detailed design. Soft colours like pink, white, and nude are popular choices.
You can also add small flowers, glitter, or simple patterns. Choose a design that matches your dress and jewellery. Most importantly, pick a style that you like and feel comfortable wearing.
White Nail Art
White is a popular bridal colour. It gives a clean look. You can use plain white nails. You can also add small designs.
Pink Nail Art
Pink is a soft colour. It gives a simple and pretty look. Light pink is a good choice for brides. You can add small flowers or glitter.
Nude Nail Art
Nude colours look simple and neat. They can match many dresses. They are also good for a simple wedding look. You can add small stones or glitter.
French Tip Nails
French tips are a classic choice. The nails have a light base. The tips are usually white. You can also use gold or silver tips.
Glitter Nails
Glitter can make bridal nails shine. You do not need to use glitter on every nail. You can add it to:
- One nail.
- Two nails.
- Nail tips.
This gives a soft shine.
Flower Nail Art
Small flowers can give a pretty look. You can use white or pink flowers. Keep the flowers small. They can match the bridal dress.
Stone Nail Art
Small stones can make nails look fancy. Use only a few stones. You can place them on one or two nails. Do not add too many stones.
Gold Nail Art
Gold can give a rich look. You can use small gold lines. You can also use gold glitter. Gold can look good with many bridal dresses.
Simple Bridal Nail Art
You do not need a fancy design. A simple look can also be beautiful. You can use:
- Nude polish.
- White tips.
- Small glitter.
- Tiny stones.
This gives a clean bridal look.
How to Choose Bridal Nail Art
Think about your wedding dress. Also think about your jewellery. Choose colours that match them. Think about the length of your nails. Pick a design that feels comfortable. Most importantly, choose a design you like.
Nail Art Designs for Different Occasions
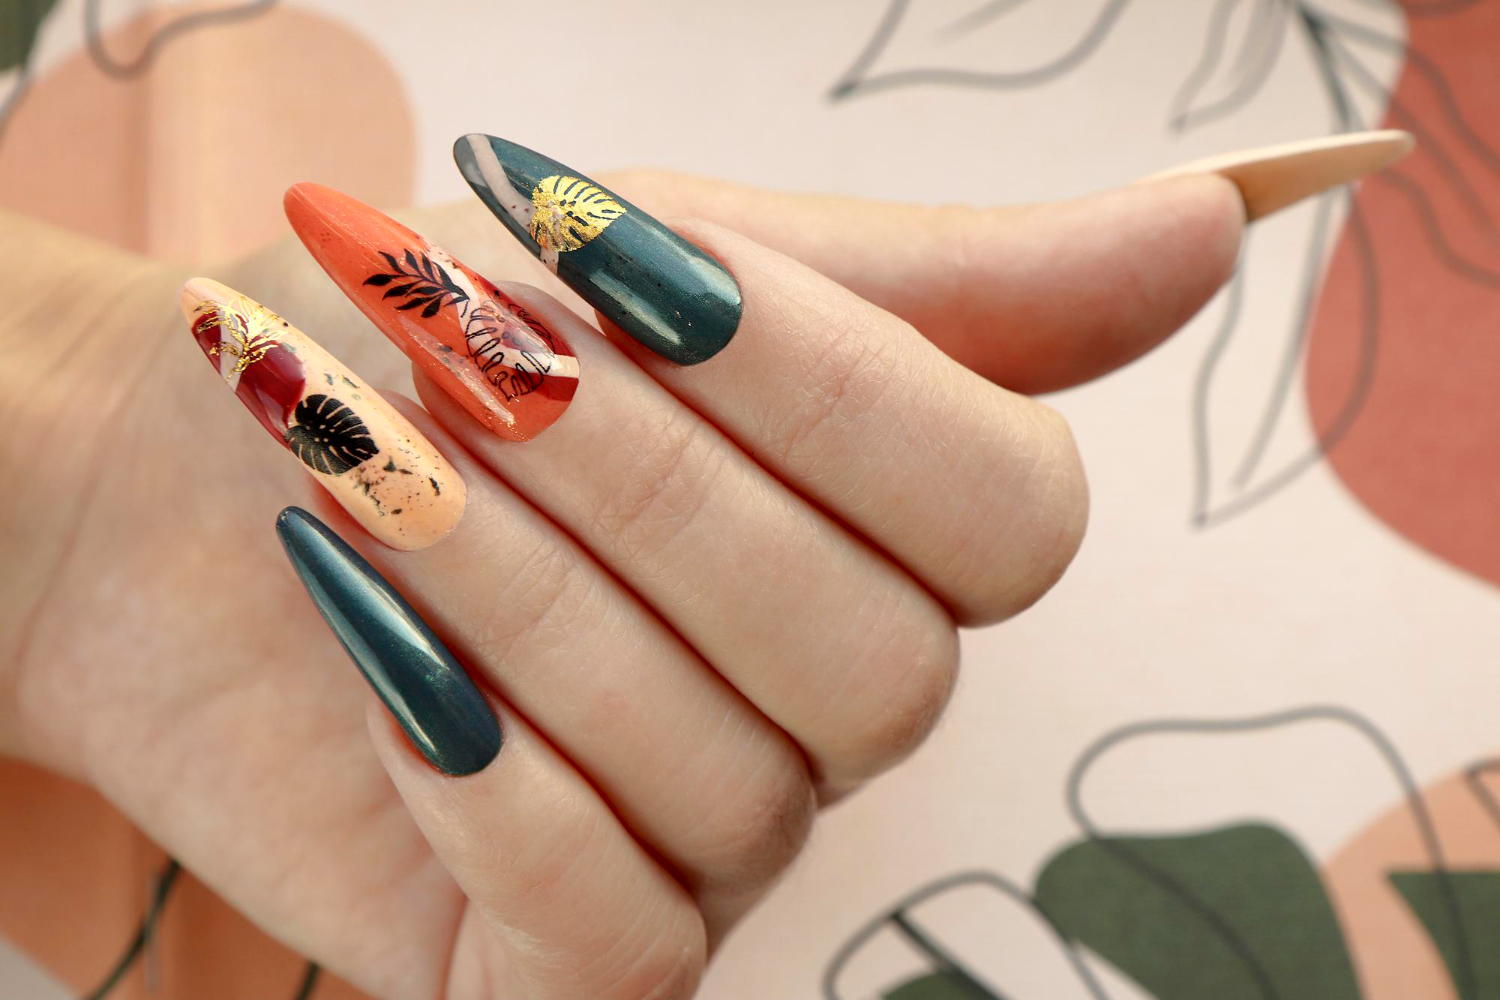
Nail art can match different occasions and outfits. You can choose a simple design for daily use. Bright colours and fun designs can look good for parties. Soft colours and simple patterns are nice for weddings.
You can also try special designs for festivals and other events. Choose a design that you like and feel comfortable wearing.
Everyday Nail Art
Everyday nails should be easy. You can use:
- Pink.
- Nude.
- White.
- Brown.
You can also use one colour. Simple nails are easy to care for.
Office Nail Art
Office nails can be simple. Try:
- Nude nails.
- Light pink.
- White tips.
- Small lines.
Soft colours look neat.
Wedding Nail Art
Wedding nails can look soft and pretty. Try:
- White.
- Pink.
- Nude.
- French tips.
- Small flowers.
You can add a little glitter.
Bridal Nail Art
Bridal nails are for the bride. You can use:
- White.
- Pink.
- Nude.
- Gold.
You can add small stones. Keep the design simple if you like a clean look.
Party Nail Art
Party nails can be bright. Try:
- Red.
- Pink.
- Purple.
- Blue.
- Gold.
You can also use glitter.
Birthday Nail Art
Birthday nails can be fun. Try:
- Bright colours.
- Glitter.
- Hearts.
- Stars.
- Dots.
Choose your favourite colours.
Festival Nail Art
Festival nails can be colourful. Try:
- Bright colours.
- Flowers.
- Dots.
- Lines.
- Glitter.
You can match your nails with your dress.
Date Night Nail Art
Date night nails can be soft. Try:
- Pink.
- Red.
- Nude.
- White.
Small hearts can also look nice.
Holiday Nail Art
Holiday nails can be fun. Use bright colours. You can also use:
- Glitter.
- Stickers.
- Small shapes.
Choose a design that you like.
How to Pick a Design
First, think about the occasion. Then choose a colour. Think about your dress too. Pick a design that is easy for you. You can keep it simple. Simple nail art can look beautiful too.
Nail Care Tips Before and After Nail Art
Good nail care can make your nails look clean and healthy. It also helps your nail art look better. Before nail art, clean your nails and remove old polish. After doing nail art, let the polish dry well.
Avoid using your nails for hard work. Keep your nails clean and use a little nail oil or hand cream when needed. Simple nail care can help your nails stay neat and ready for your next nail art design.
Before Nail Art
Prepare your nails first. Clean your nails. Remove old nail polish. Wash your hands. Dry your hands well.
Keep Your Nails Clean
Clean nails are important. Dirt can stay under your nails. Clean them gently. Do not use sharp things too hard.
Cut Your Nails
Keep your nails at a length you like. Cut them if they are too long. Use a clean nail cutter. Do not cut too deep.
Shape Your Nails
Use a nail file to shape your nails. You can choose:
- Round.
- Square.
- Oval.
File gently. Do not file too hard.
Keep Your Nails Soft
Use hand cream or nail oil. Put a little on your nails. It can help keep the skin around your nails soft.
Use a Base Coat
Put a base coat before nail polish. It gives a smooth base. It can also help the nail polish stay better. Let it dry before the next step.
After Nail Art
Take care of your nails after doing nail art. Let the polish dry fully. Do not touch things too much while it is wet.
Use a Top Coat
A top coat goes over your nail art. It can help protect the design. It can also make the nails look shiny. Apply a thin layer.
Do Not Peel Nail Polish
Do not peel the polish from your nails. Peeling can damage the nail surface. Use nail polish remover instead.
Keep Your Hands Moist
Wash your hands as usual. After washing, use hand cream if your skin feels dry. You can also use a little nail oil.
Protect Your Nails
Be careful while doing housework. Use gloves when needed. Try not to use your nails to open things. This can break the nails.
Remove Nail Art Carefully
Remove nail polish when you want a new design. Use nail polish remover. Wipe the polish gently. Do not scratch your nails.
Give Your Nails a Break
You can leave your nails without polish sometimes. This gives you time to clean and care for them. Keep your nails clean and dry.
Simple Nail Care Routine
Follow these easy steps:
- Clean your nails.
- Cut and shape them.
- Keep the skin soft.
- Apply a base coat.
- Do your nail art.
- Let it dry.
- Apply a top coat.
- Remove the polish gently when needed.
Good nail care can help your nails look clean and neat.
Master Makeup, Hair & Skincare to Build Your Beauty Identity
Unlock your creative potential with our expert-led Beauty & Wellness course. Build in-demand beauty skills and step confidently into the world of beauty!
Your Beauty Career Starts Here!DIY Nail Art at Home
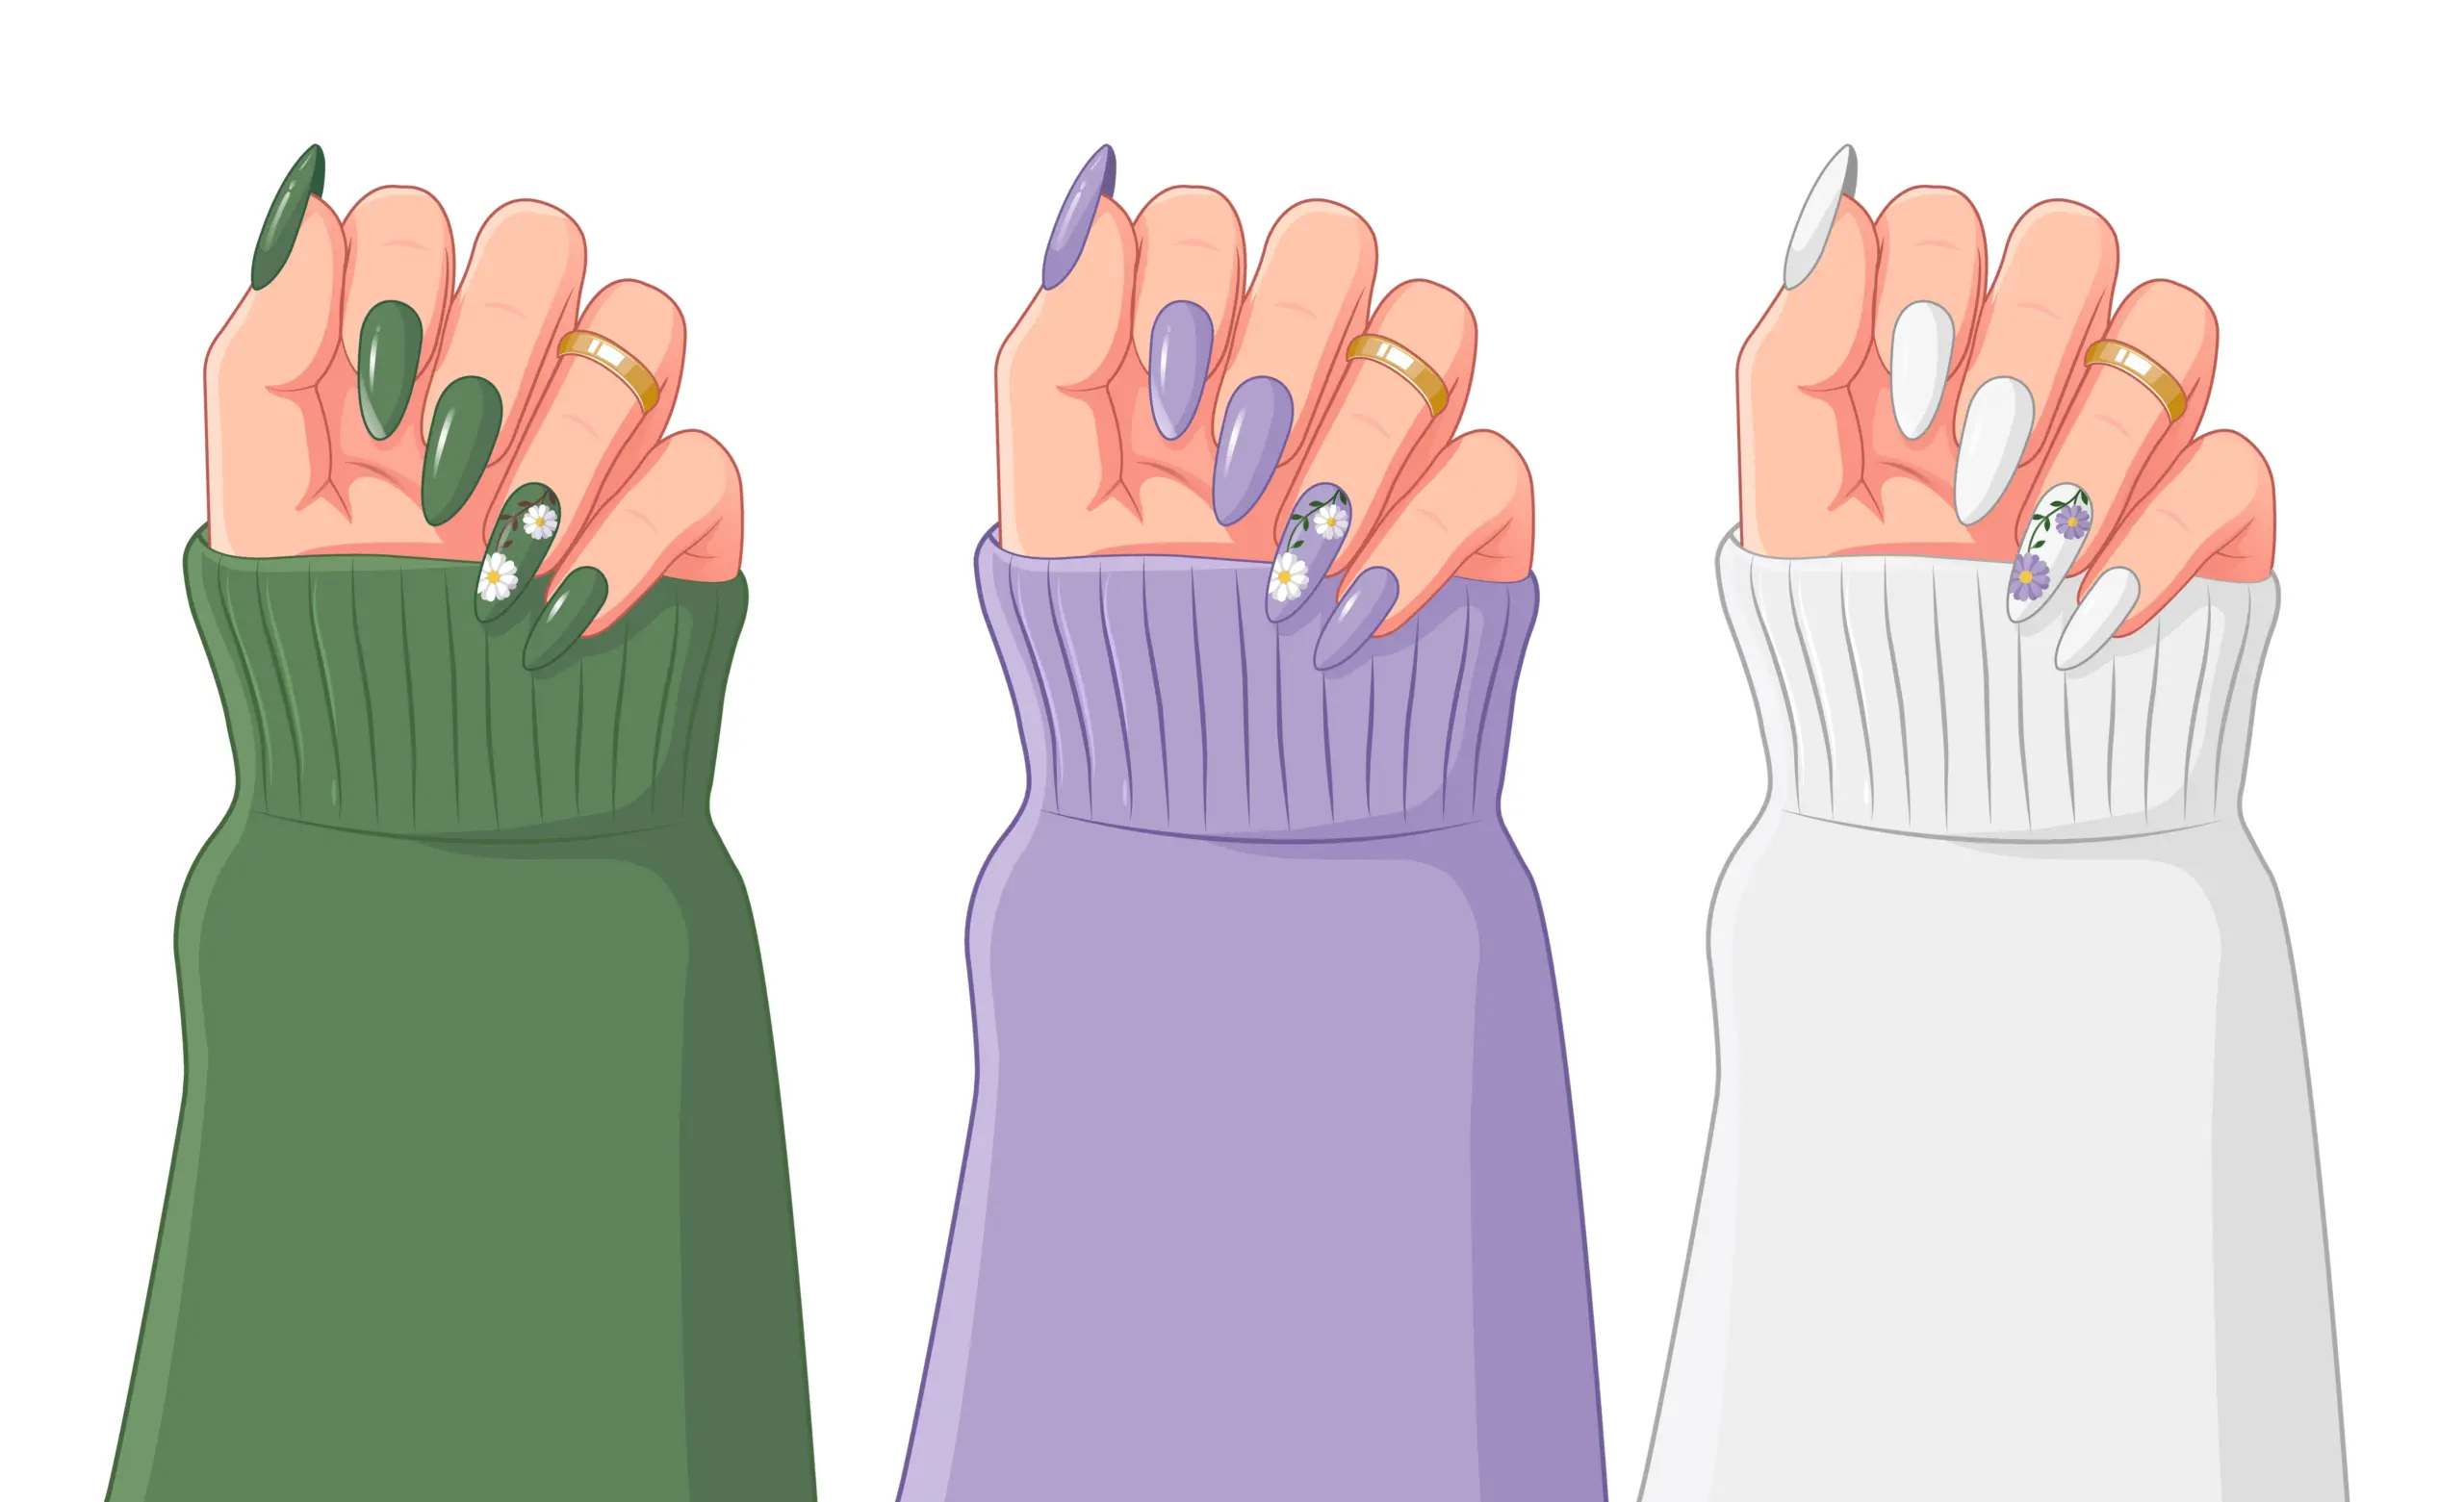
DIY nail art is a simple way to make your nails look pretty at home. You do not need many tools or special skills to start. First, clean and shape your nails. Then choose a simple design that you like. You can try dots, lines, flowers, or stickers.
Apply the polish slowly and let it dry well. Finish with clear nail polish to help the design last longer. With regular practice, you can try new designs and make your nails look neat and beautiful.
What You Need
You need a few basic things.
- Nail polish.
- Clear nail polish.
- Small nail brush.
- Toothpick.
- Nail file.
- Cotton buds.
- Nail polish remover.
You can add stickers or glitter if you like.
Step 1: Clean Your Nails
Wash your hands first. Clean your nails. Remove old nail polish. Dry your hands well.
Step 2: Shape Your Nails
Use a nail file. Shape your nails gently. You can choose:
- Round.
- Square.
- Oval.
Do not file too hard.
Step 3: Apply Base Colour
Choose your nail colour. Apply one thin layer. Let it dry. Apply a second layer if needed. Let it dry again.
Step 4: Make Simple Dots
Dots are easy to make. Use a toothpick. Put a little nail polish on it. Make small dots on your nails. You can use one or two colours.
Step 5: Make Small Flowers
Flowers are easy to try. Make a few small dots. Put them close together. Add one dot in the middle. You now have a small flower.
Step 6: Make Simple Lines
Use a thin brush. Draw small lines. You can make:
- Straight lines.
- Slant lines.
- Cross lines.
Keep the lines small.
Step 7: Try French Tips
French tips are simple. Apply a light base colour. Let it dry. Paint the tips white. You can also use another colour.
Step 8: Add Glitter
Glitter can make your nails shine. Add a small amount. You can put glitter on:
- One nail.
- Nail tips.
- Small parts of the design.
Do not use too much.
Step 9: Use Nail Stickers
Nail stickers are easy. Paint your nails first. Let them dry. Place the sticker on the nail. Press it gently.
Step 10: Apply Top Coat
Use clear nail polish as a top coat. Apply a thin layer.
Master Advanced Skincare, Makeup, Hair, and Salon Management. Enrol Now!
Simple Designs to Try
Beginners can try:
- Dots.
- Lines.
- Flowers.
- Hearts.
- French tips.
- Glitter nails.
- Nail stickers.
Start with one design. Try new designs after you feel comfortable. DIY nail art can be simple, fun, and easy to do at home.
Conclusion
Nail art is a simple way to make your nails look pretty. You can choose a design for any occasion. Try simple designs for daily use and soft designs for weddings. Make choices according to the occasions. You can also do many designs at home.
Start with easy styles like dots, lines, flowers, or French tips. Take care of your nails before and after nail art. Choose colours and designs that you like. Simple nail art can also give your hands a beautiful look. With a little practice, you can make your own nail designs at home.
Master Makeup, Hair & Skincare to Build Your Beauty Identity
Unlock your creative potential with our expert-led Beauty & Wellness course. Build in-demand beauty skills and step confidently into the world of beauty!
Your Beauty Career Starts Here!Frequently Asked Questions
What is nail art?
Nail art means adding colors and designs to your nails. You can use simple colors, lines, dots, flowers, or stickers. It can make your nails look neat and pretty.
Can I do nail art at home?
Yes, you can do nail art at home. Start with easy designs. You can try dots, lines, stickers, or simple French tips. With practice, you can try more designs.
What is the easiest nail art?
Simple nail art is easy for beginners. You can start with dots, lines, small flowers, nail stickers and French tips. These designs do not need much practice.
What nail art is good for a wedding?
Simple and soft designs are good for weddings. You can try white nails, pink nails, nude shades, French tips, small flowers and light glitter. Choose a design that matches your dress.
How can I make nail art last longer?
Take care of your nails after doing the design. Let the polish dry well. Add a clear top coat. Avoid using your nails to open or scratch things.
How do I get my nails ready for nail art?
Clean your nails before starting. Remove old nail polish. Cut or shape the nails if needed. Keep the nails dry before applying new polish.
How do I remove nail art?
Use nail polish remover and cotton. Place the cotton on the nail and wipe gently. Do not scratch or peel the polish from your nails.
What do I need for nail art?
You only need a few basic things such as nail polish, nail file, small brush, cotton and nail polish remover. You can also use stickers, glitter, or small nail tools for different designs.